PVC Trim Entryway
Create a traditional Beaded Recessed Panel design in your home's entryway with Royal®'s flexible and customizable PVC Trim! Contributed by Made by Carli.
Let’s do this.
- Royal PVC Lattice
- 13/32-in x 8-ft White Hard Unfinished Chair Rail Moulding
- Spackle
- Caulk, white, paintable
- Compound miter saw
- Cordless Brad nailer
- Level
- Tape Measure
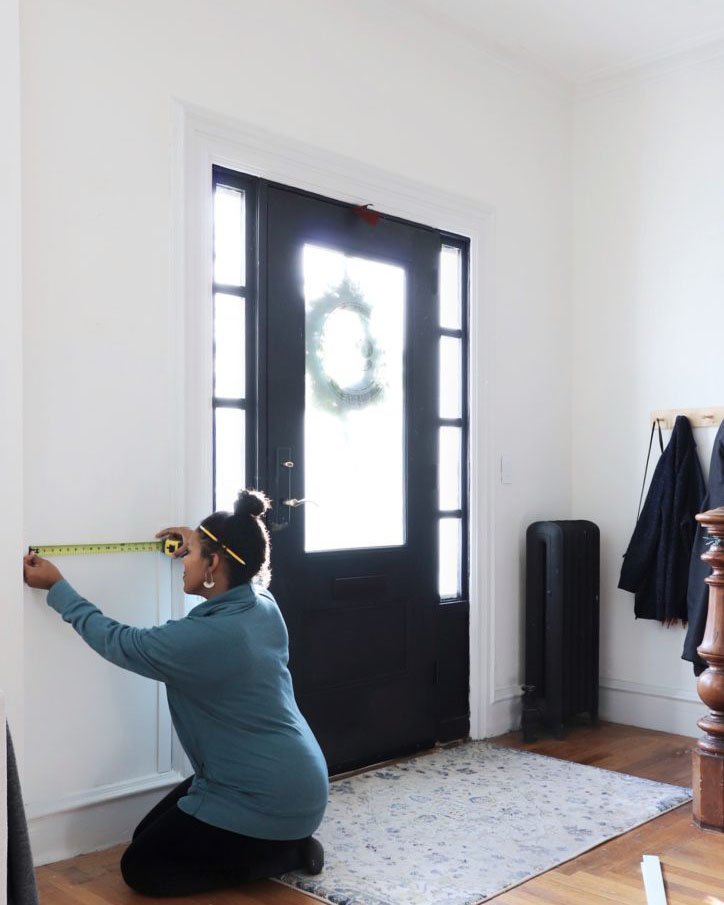
Carli started around her doorway, but feel free to start at whichever corner you desire! Measure the first two pieces of trim, and nail them to the wall using the brad nailer. Then, add your top and bottom pieces, ensuring they are level and square.
Next, measure the inside of the square to add decorative trim. These pieces were mitered at a 45 degree angle like a picture frame and nailed to the inside perimeter of her rectangle. It may be different depending on the size of your surface.
The next step is to caulk the seams and spackle the nail holes. This will ensure a smooth and seamless surface for painting!
Depending on how many walls you would like to transform, repeat the previous steps.
Once the trim is installed and all seams and nail holes are filled, you may move to painting. With Royal PVC lattice, there is no sanding required.
Simply paint with semi-gloss paint. Carli used two coats.
A beaded recessed wall treatment provides simple texture without being too overbearing. We hope you enjoyed getting your hands dirty and DIY-ing!


