Toddler Sandbox
Royal® Trimboard is used to create this classic and kid-friendly sandbox!
Let’s do this
- 2 - 2x4x1/2" HandiPanel
- 2 - 5/8" x 8' Head Stop Trim
- #8 x 1-1/4" exterior Trim Head Screws
- 2 - 1x4x8' (3/4") Royal Trim Board
- 2 - 1x6x8' (3/4") Royal Trim Board
- 1 - 1x2x8' (3/4") Royal Trim Board
- PVC Glue
- Hearing Protection
- Safety Glasses
- Power Miter Saw
- Drill / Driver
- Table Saw or Circular Saw
- Tape Measure
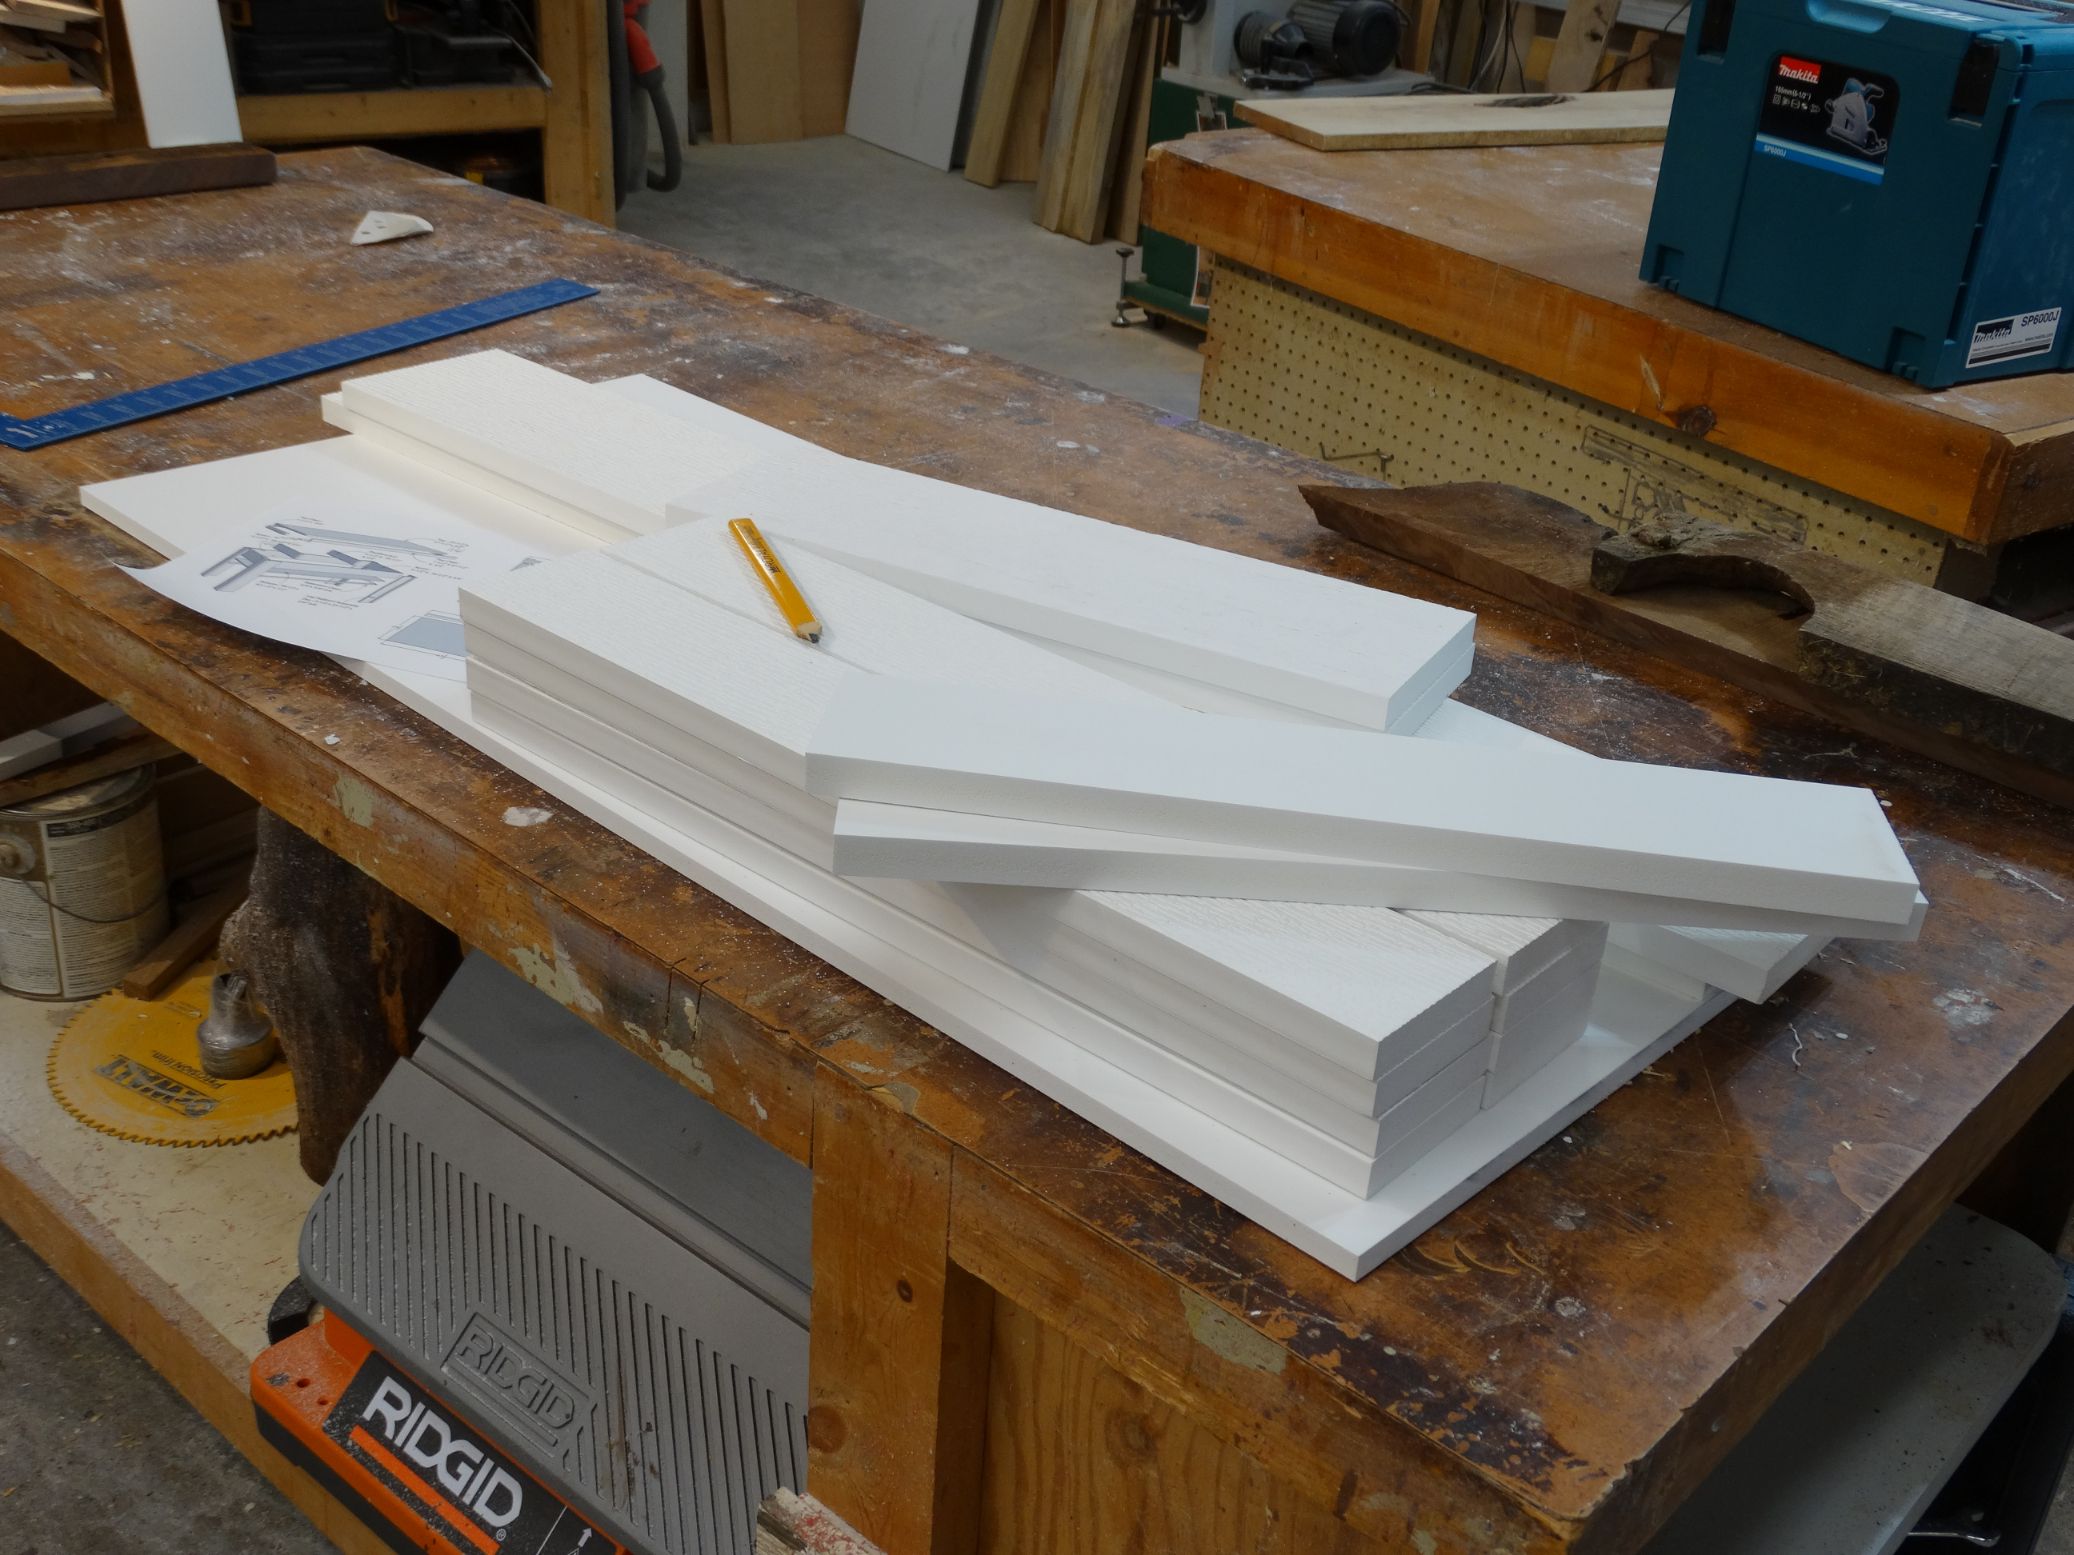
Layout the parts, and crosscut the frame parts to the appropriate lengths. We used a power miter saw, but a handsaw will work as well.
Continue the process to complete the parts for the frame.
Rip the Top and Bottom portions of the build from the 1/2" panels.
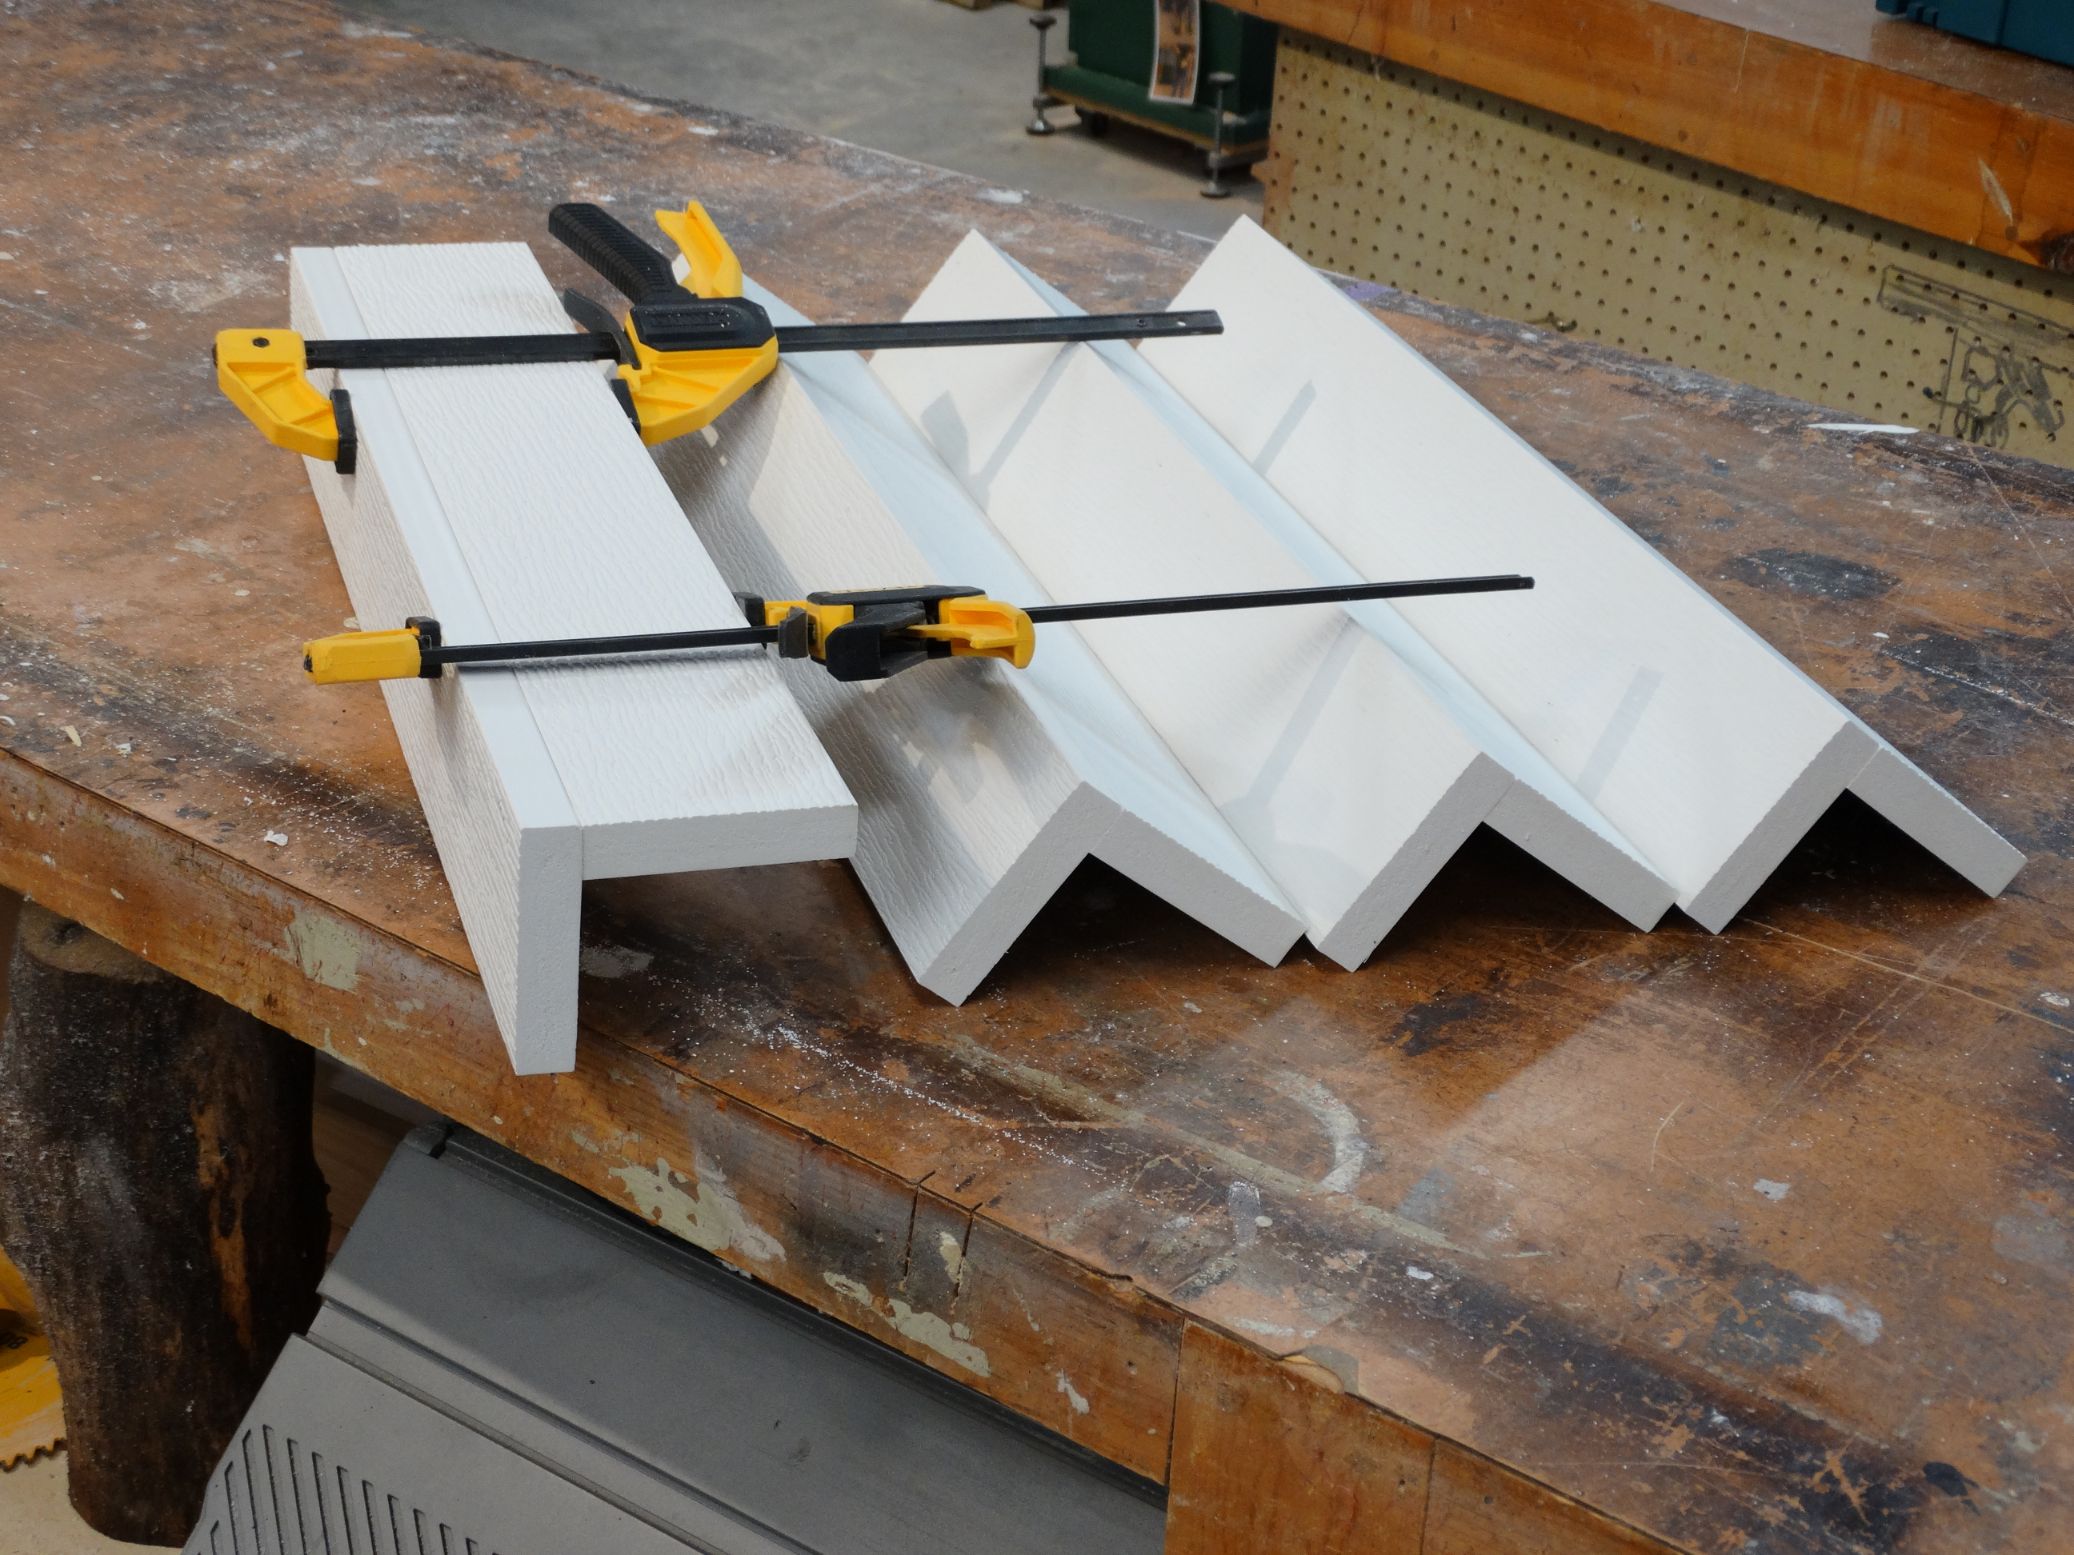
PVC Glue the 3-1/2" x 23' boards and clamp as shown in the photo.
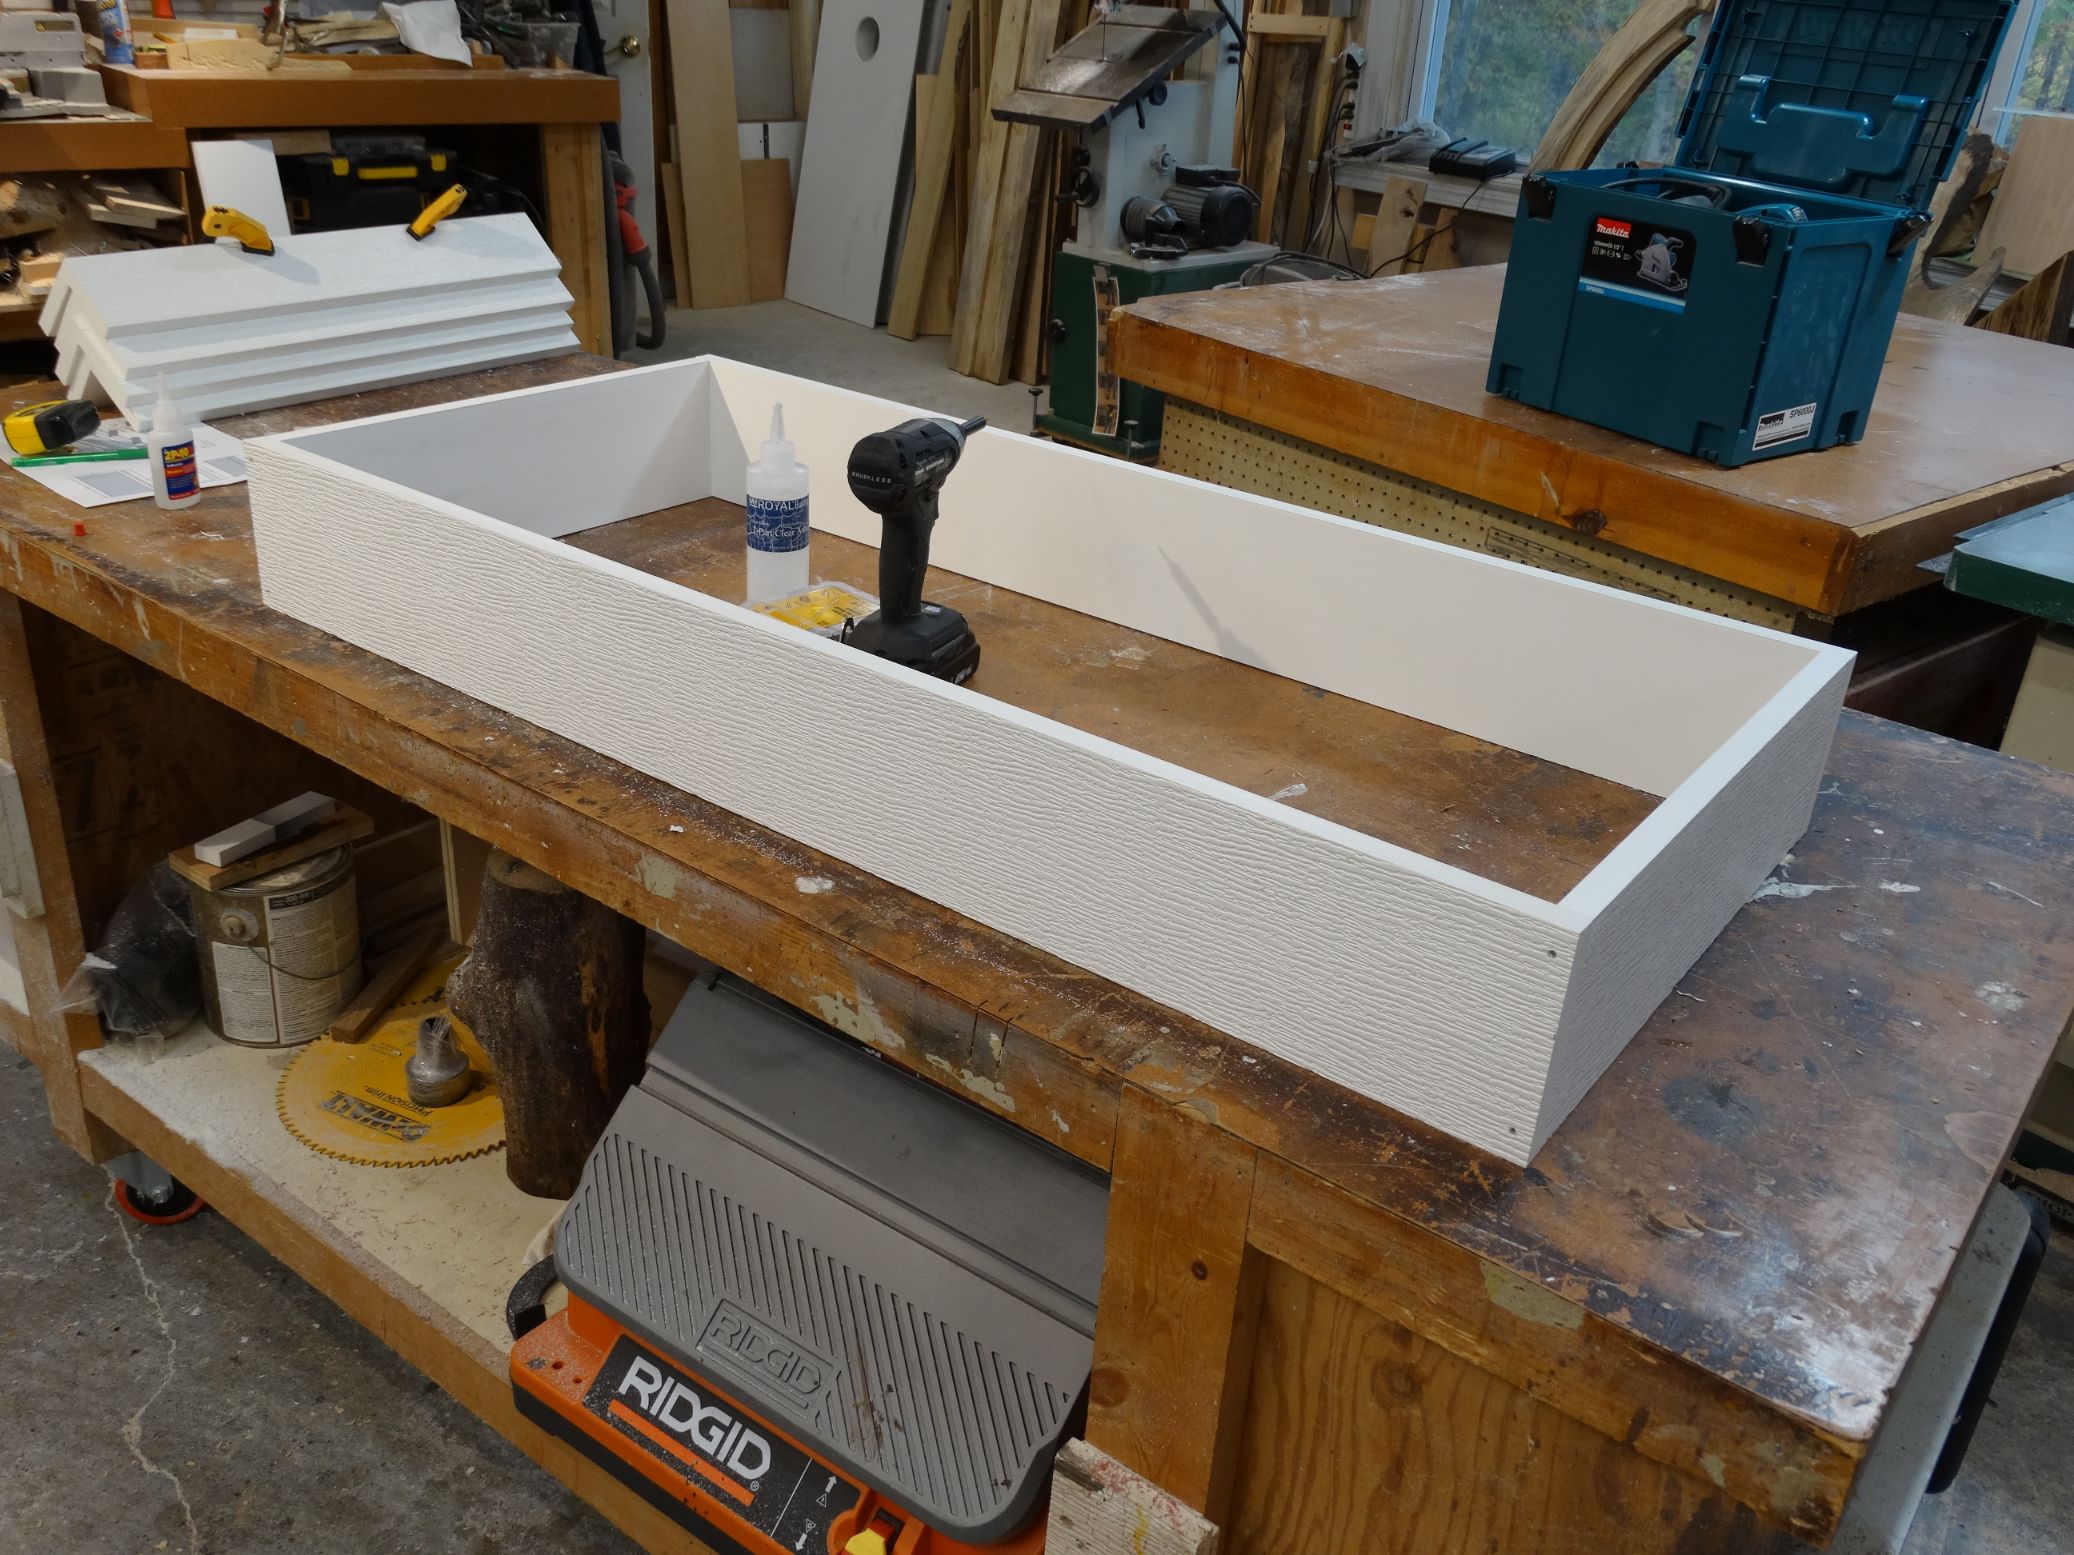
Using trim head screws and PVC Cement, connect the 5-1/2" x 44 & 18-1/2" boards.
Install the 5/8" x 5/8" retention band around the bottom portion of the frame with trim head screws and PVC glue This will be used to hold the bottom panel in place.
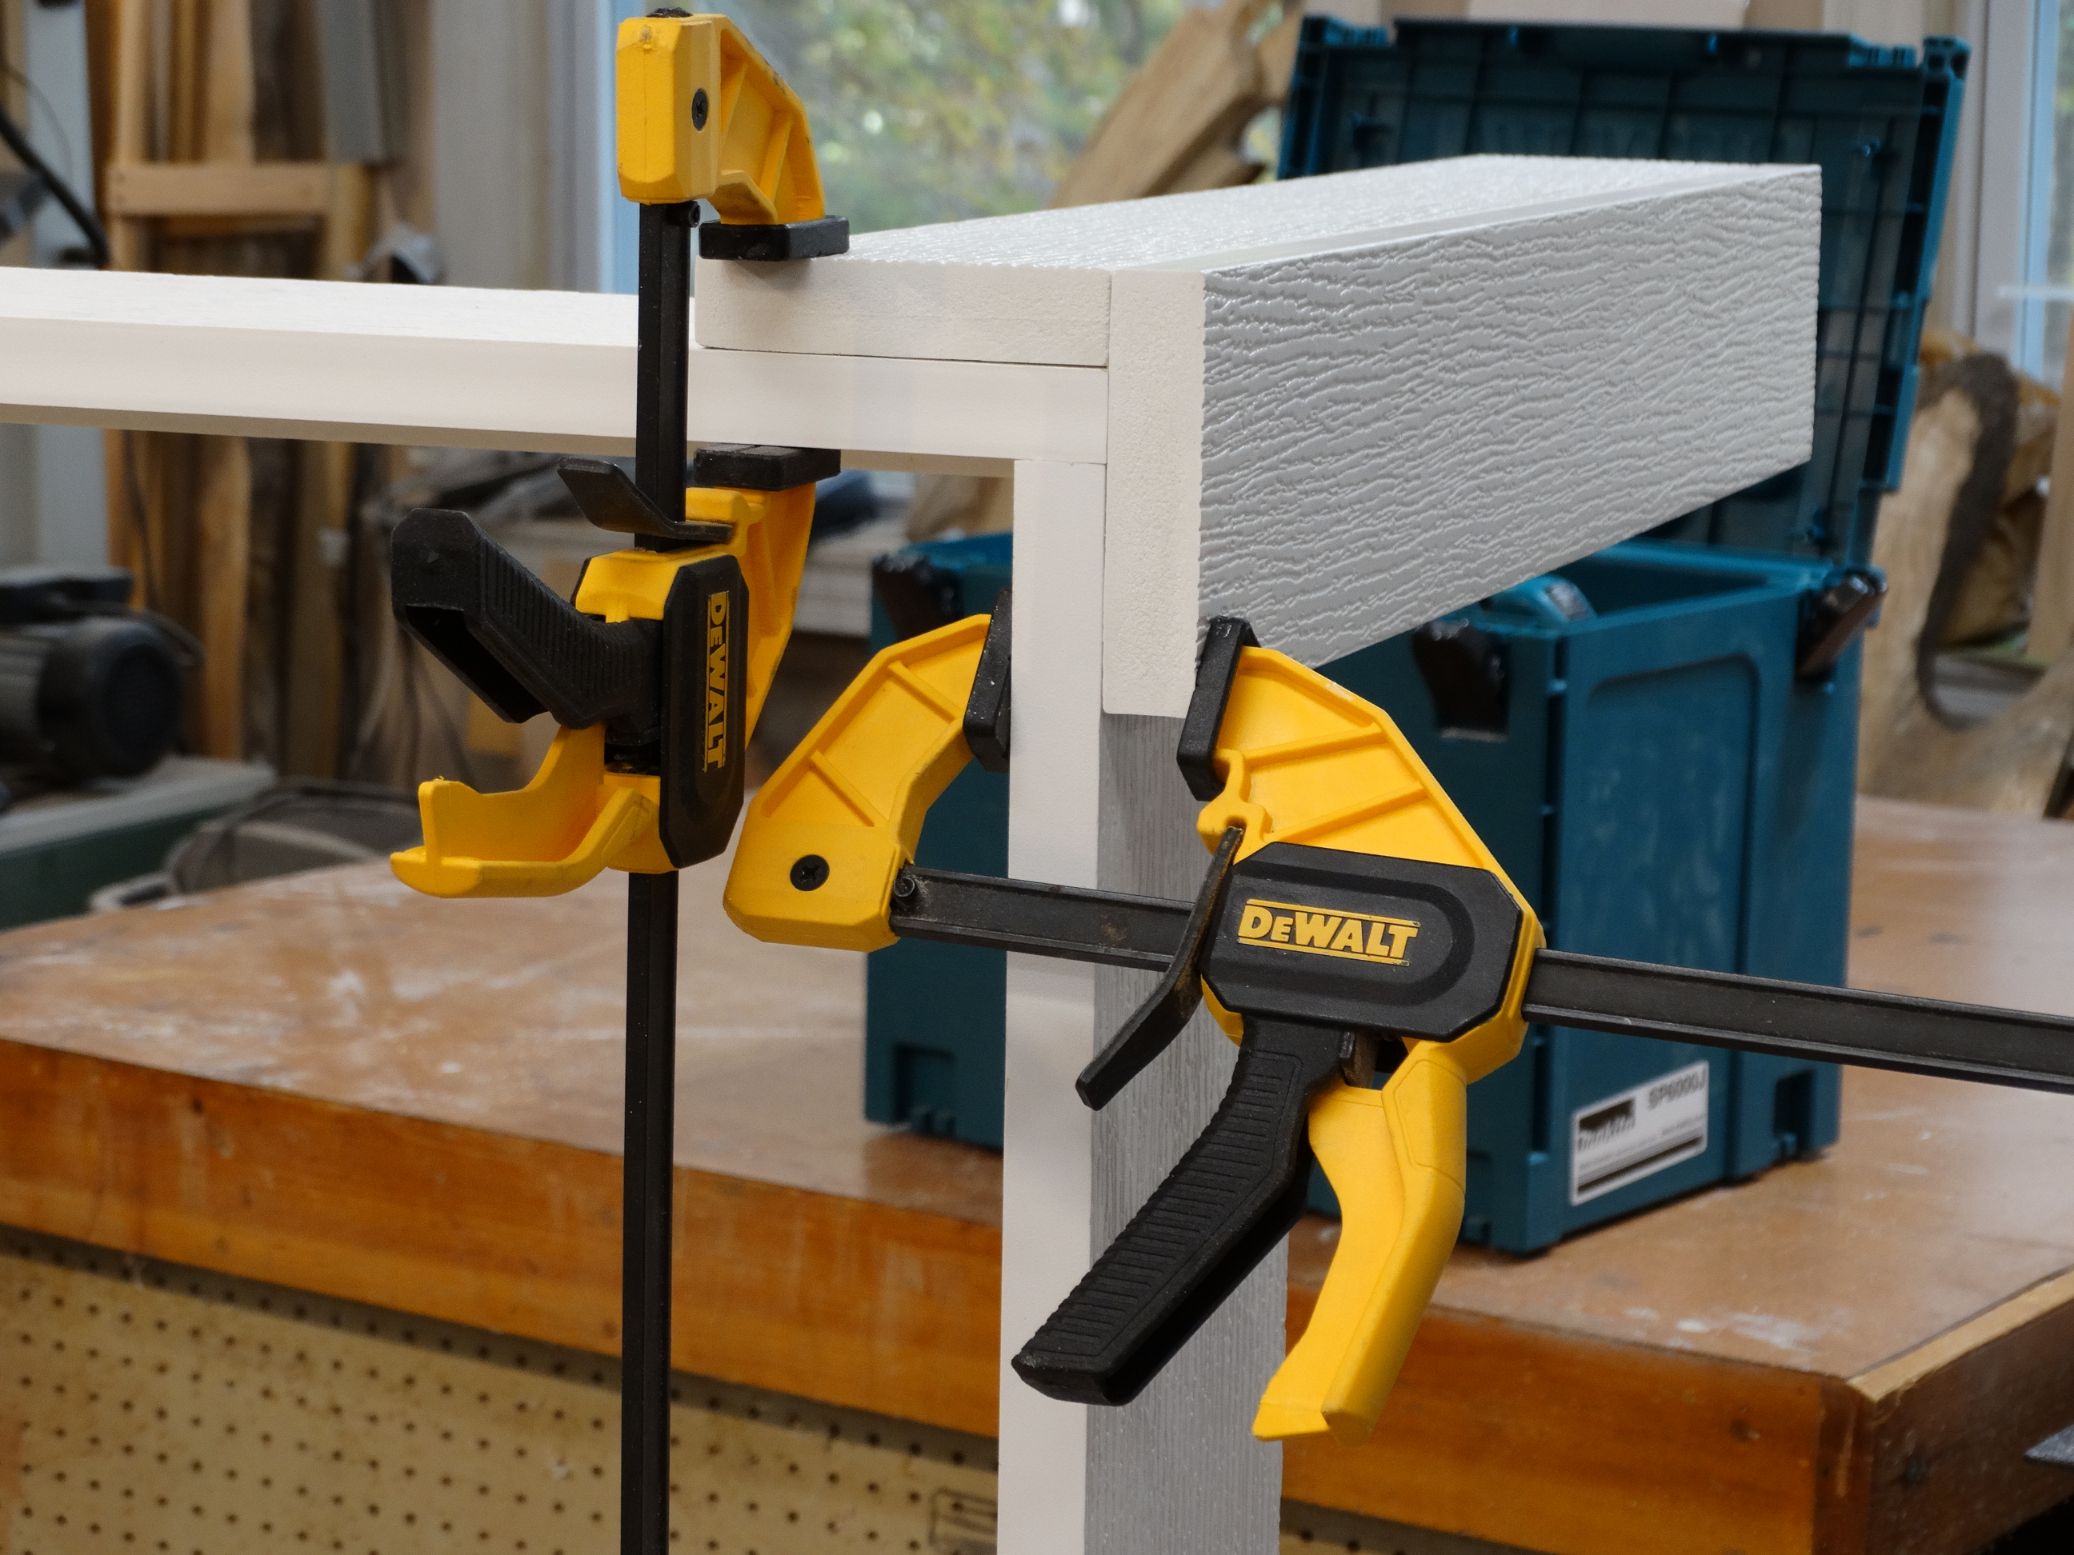
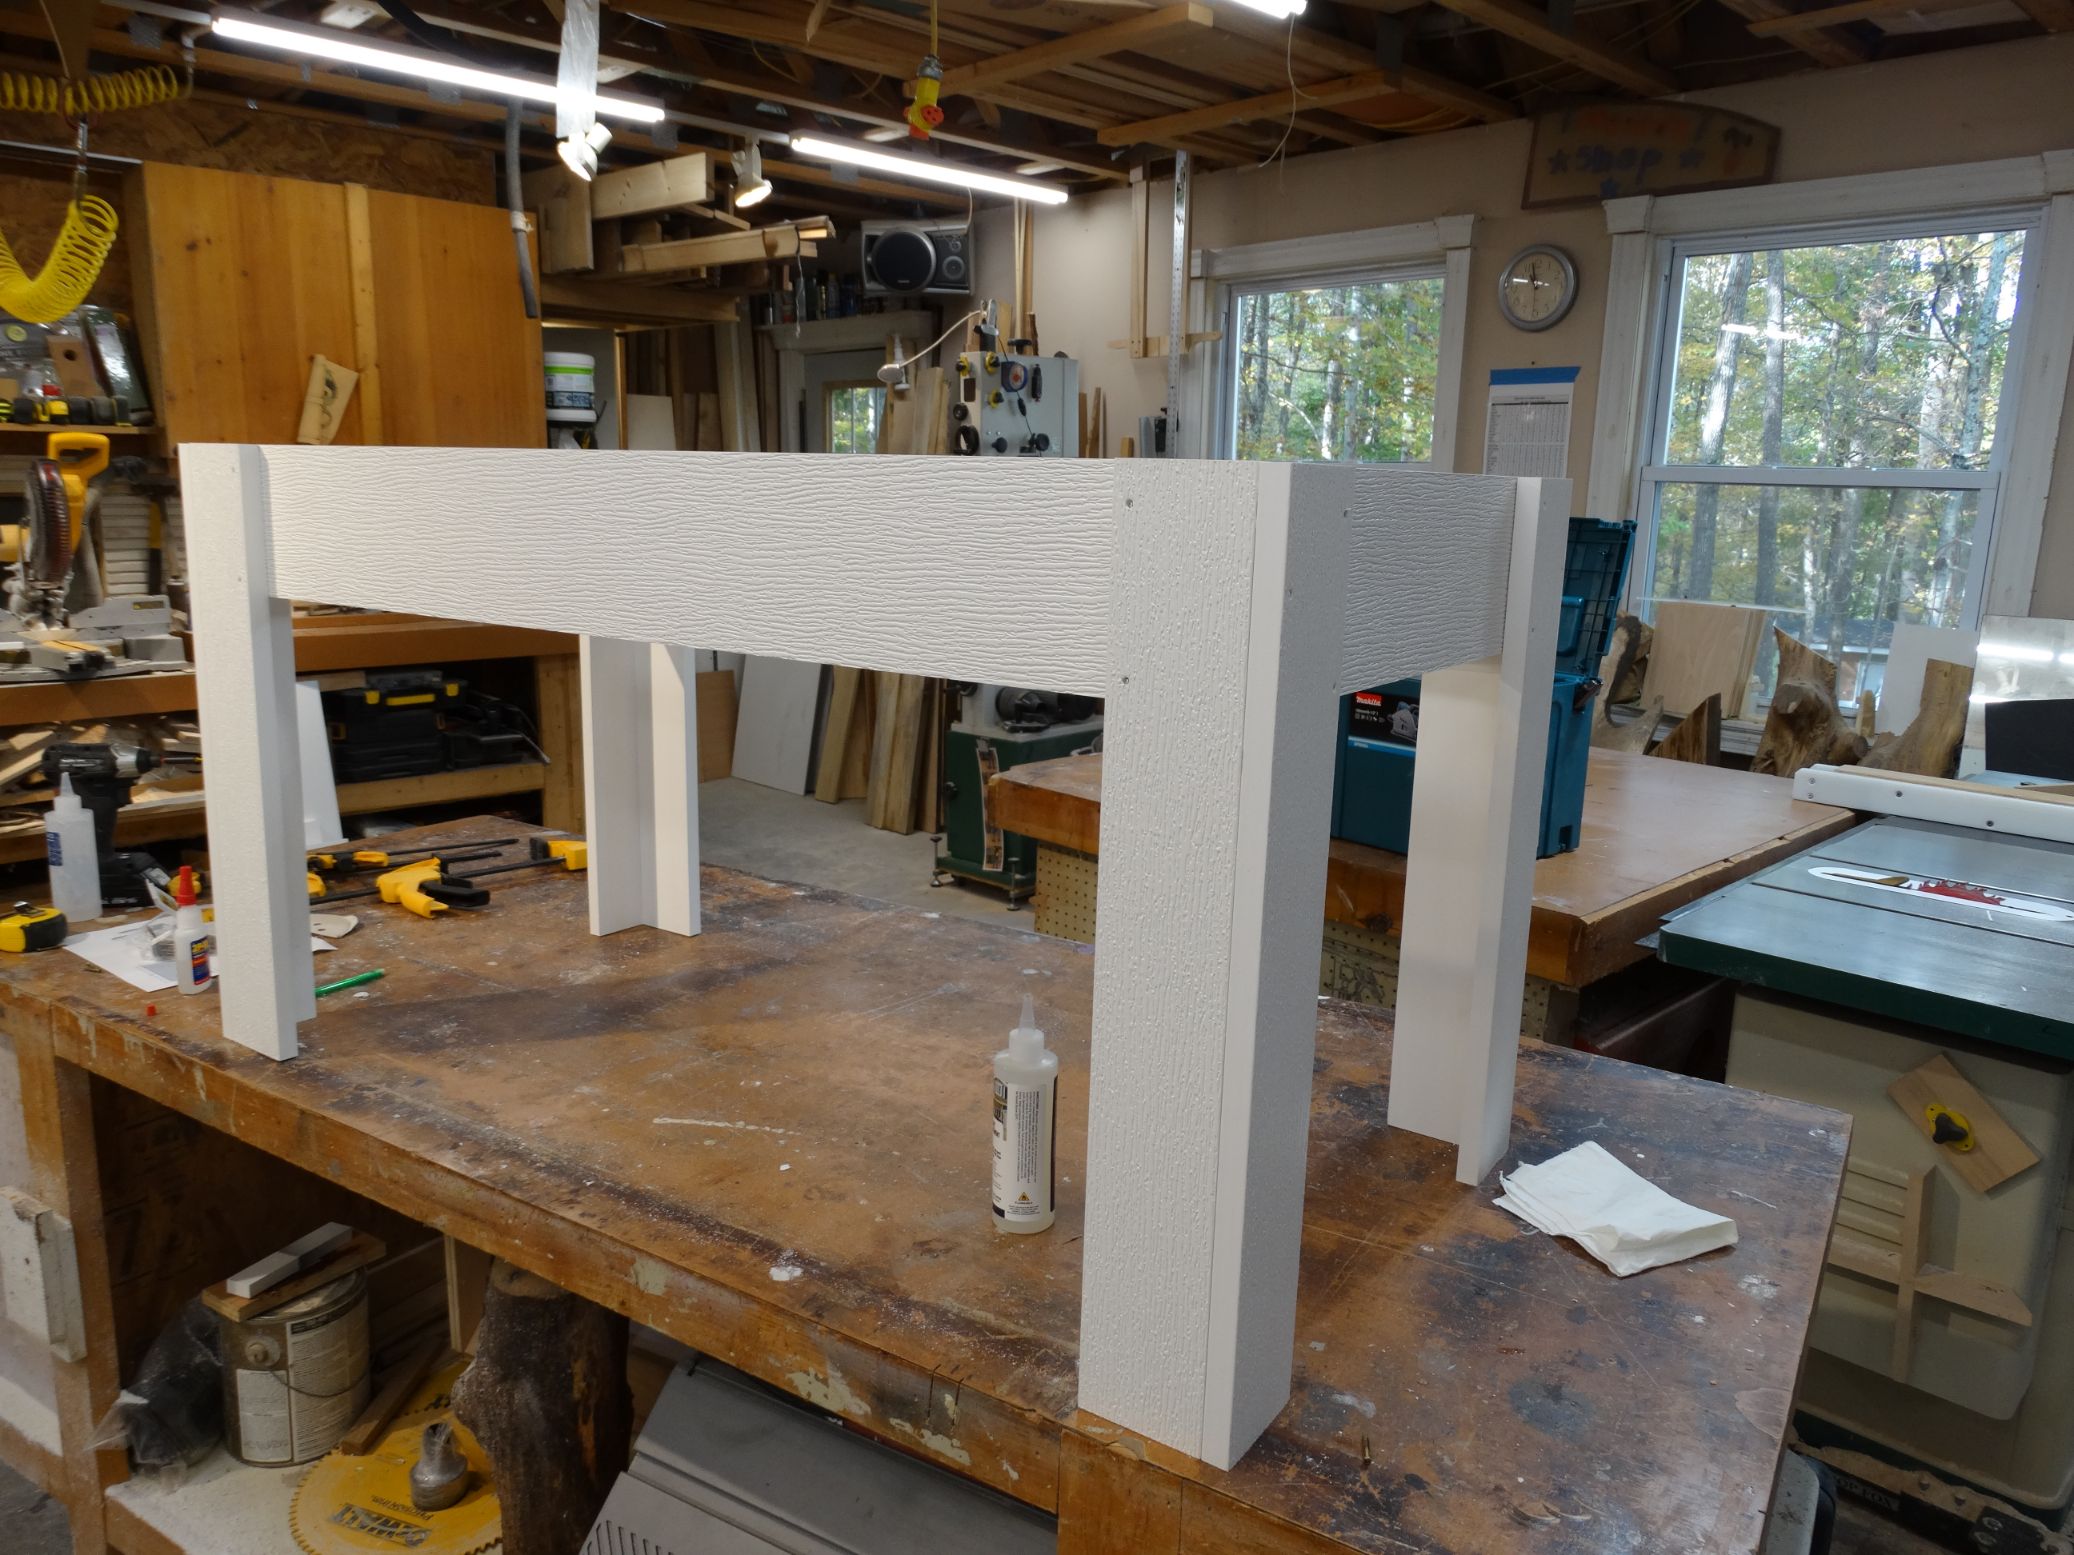
The legs are to be screwed and glued to the frame. Pay attention to the orientation of the legs, the widest side is to be placed on the longest side of the frame.
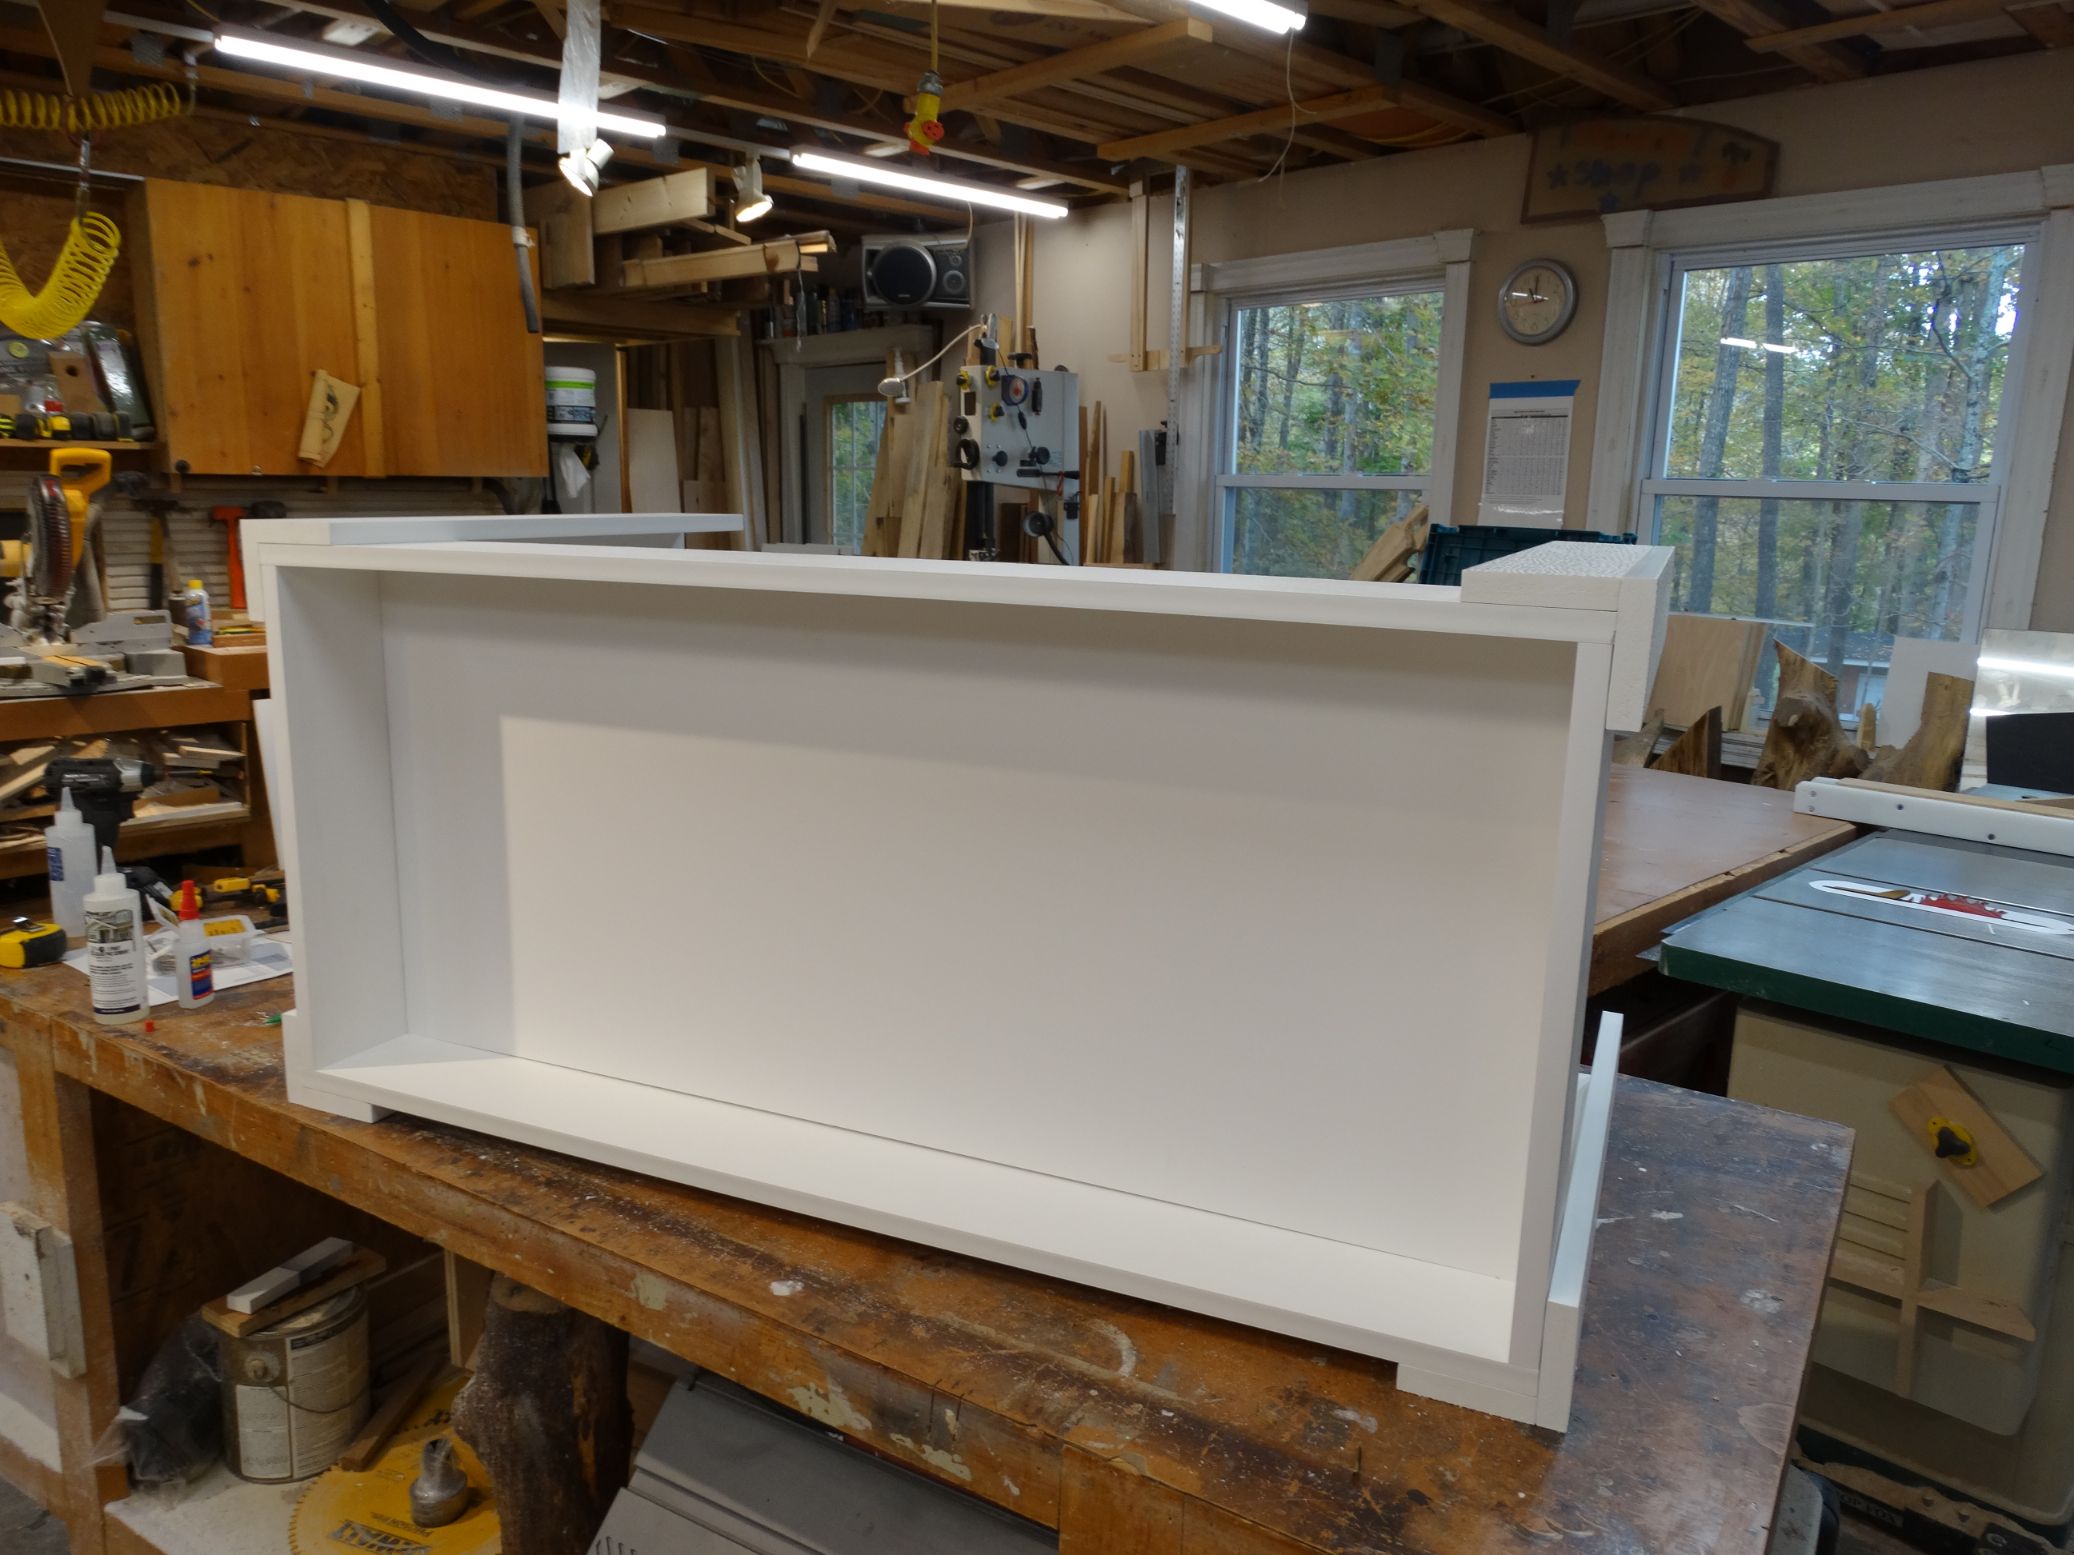
Lay the frame assembly on its side and PVC Glue the bottom Panel to the 5/8" band.
Stand frame upright and allow glue adequate cure time before moving to the next step.
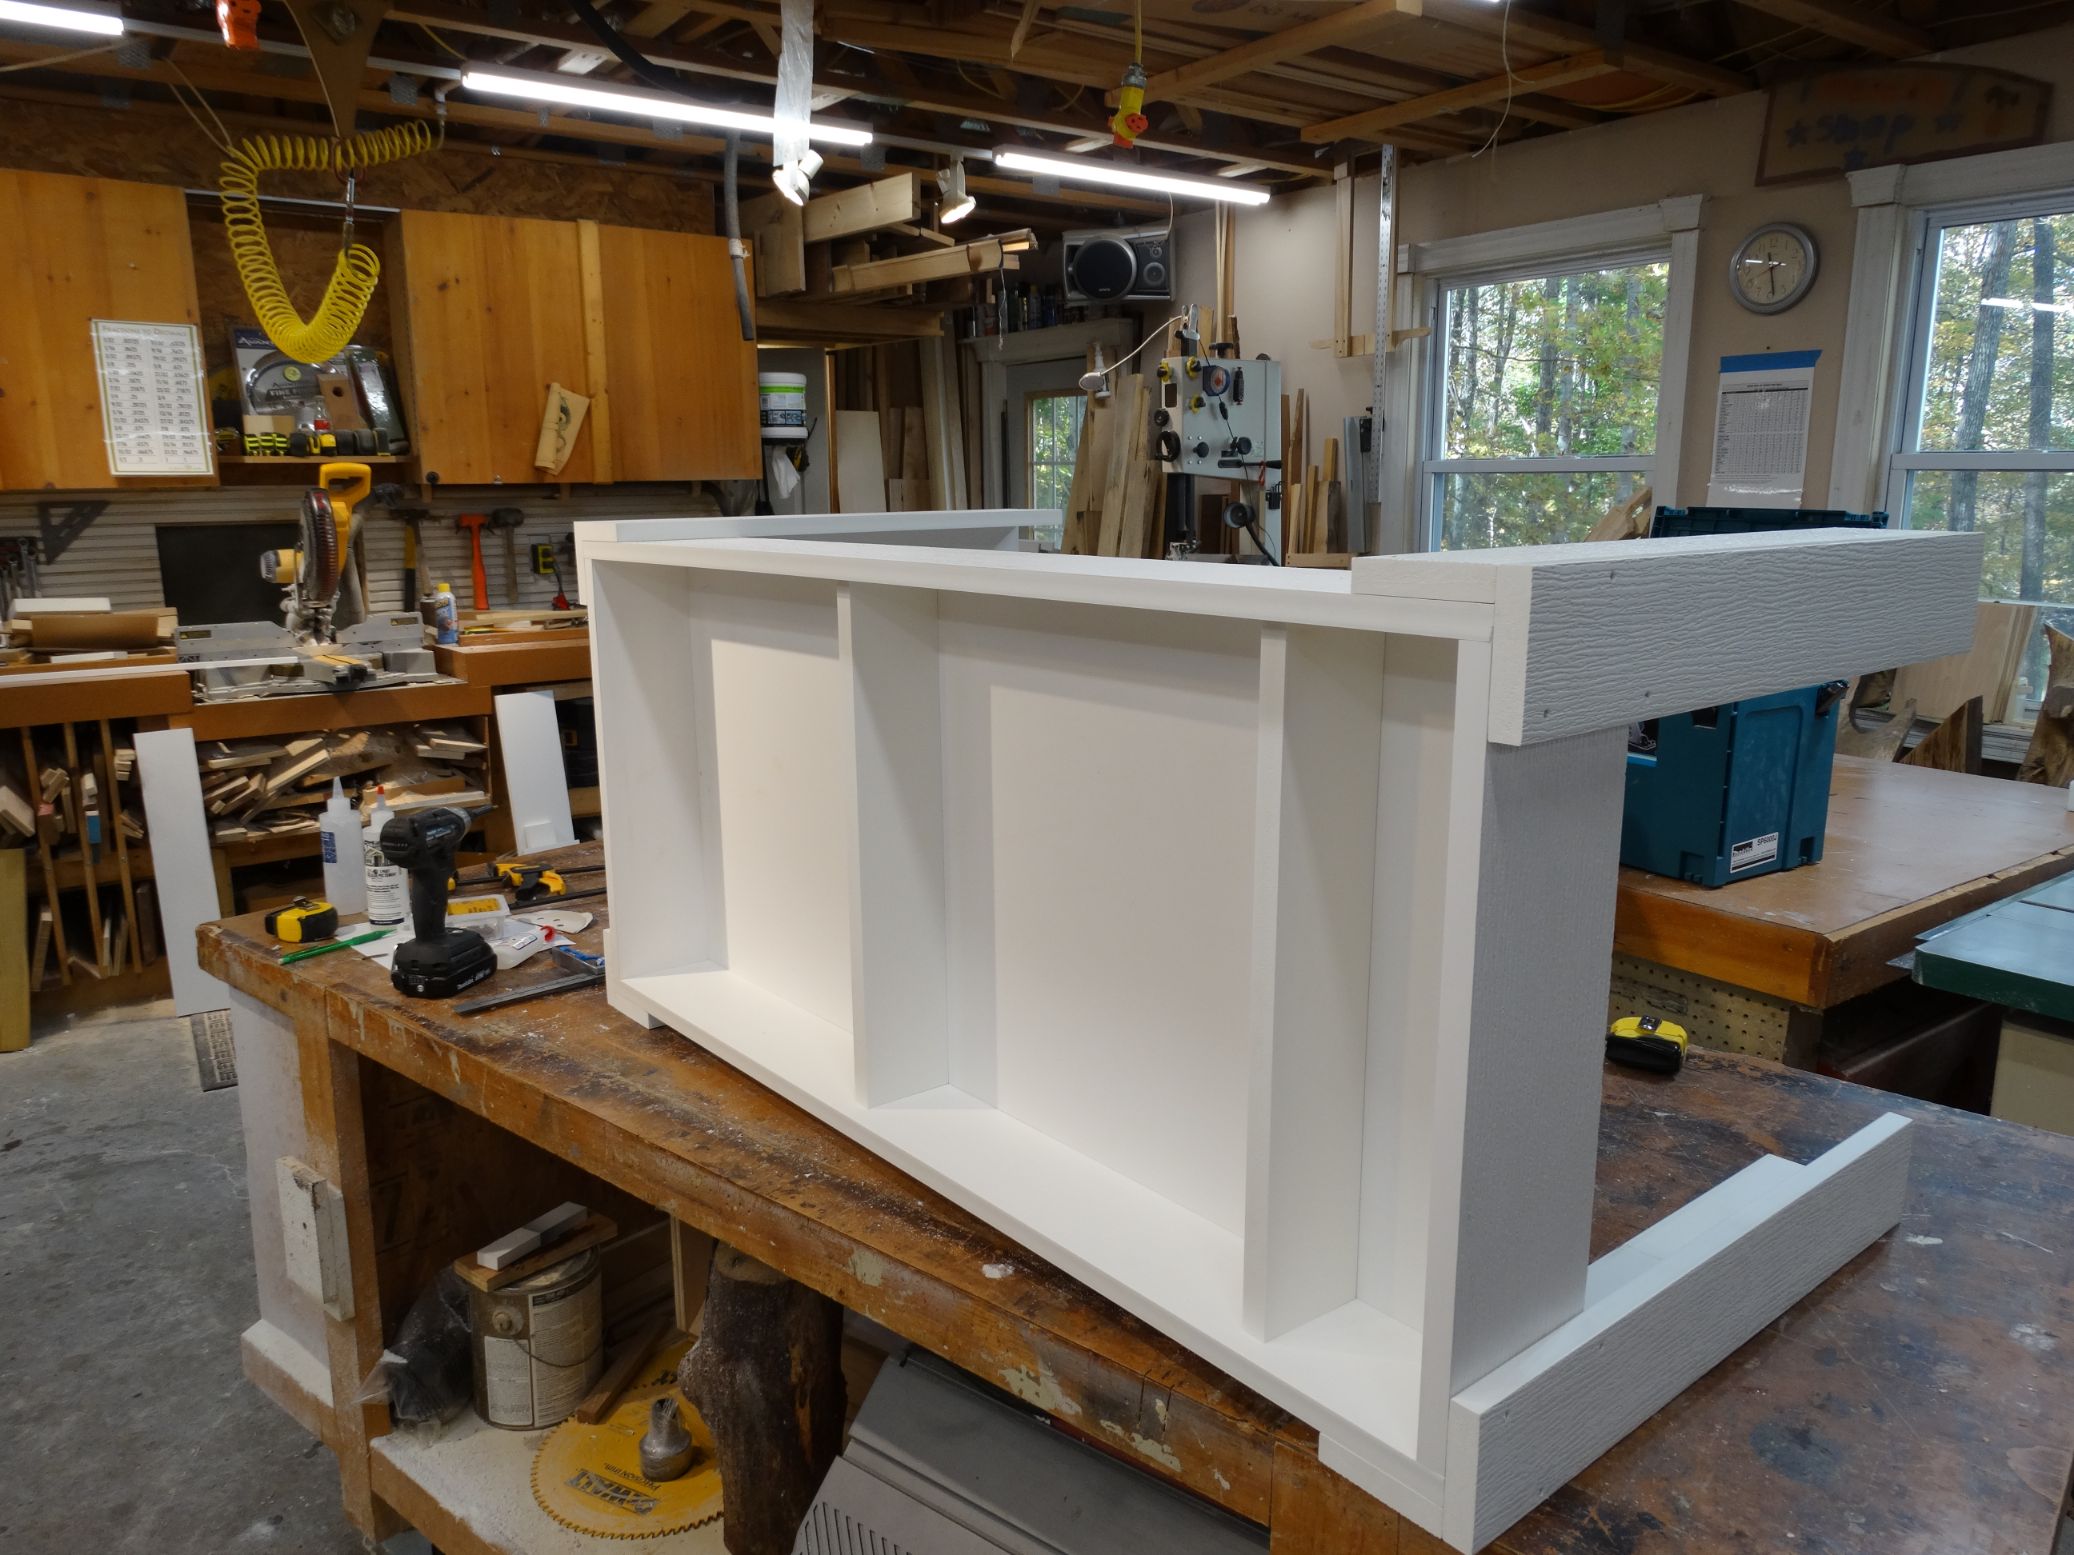
Glue the dividers to the bottom and screw through sides of the frame to complete the install.
With spacers clamped in position, use the 2-1/2" trim head screws to secure the door and act as hinges.
Band the top by fastening the 1-1/2" x 3/4" band around the top panel using screws and PVC glue.
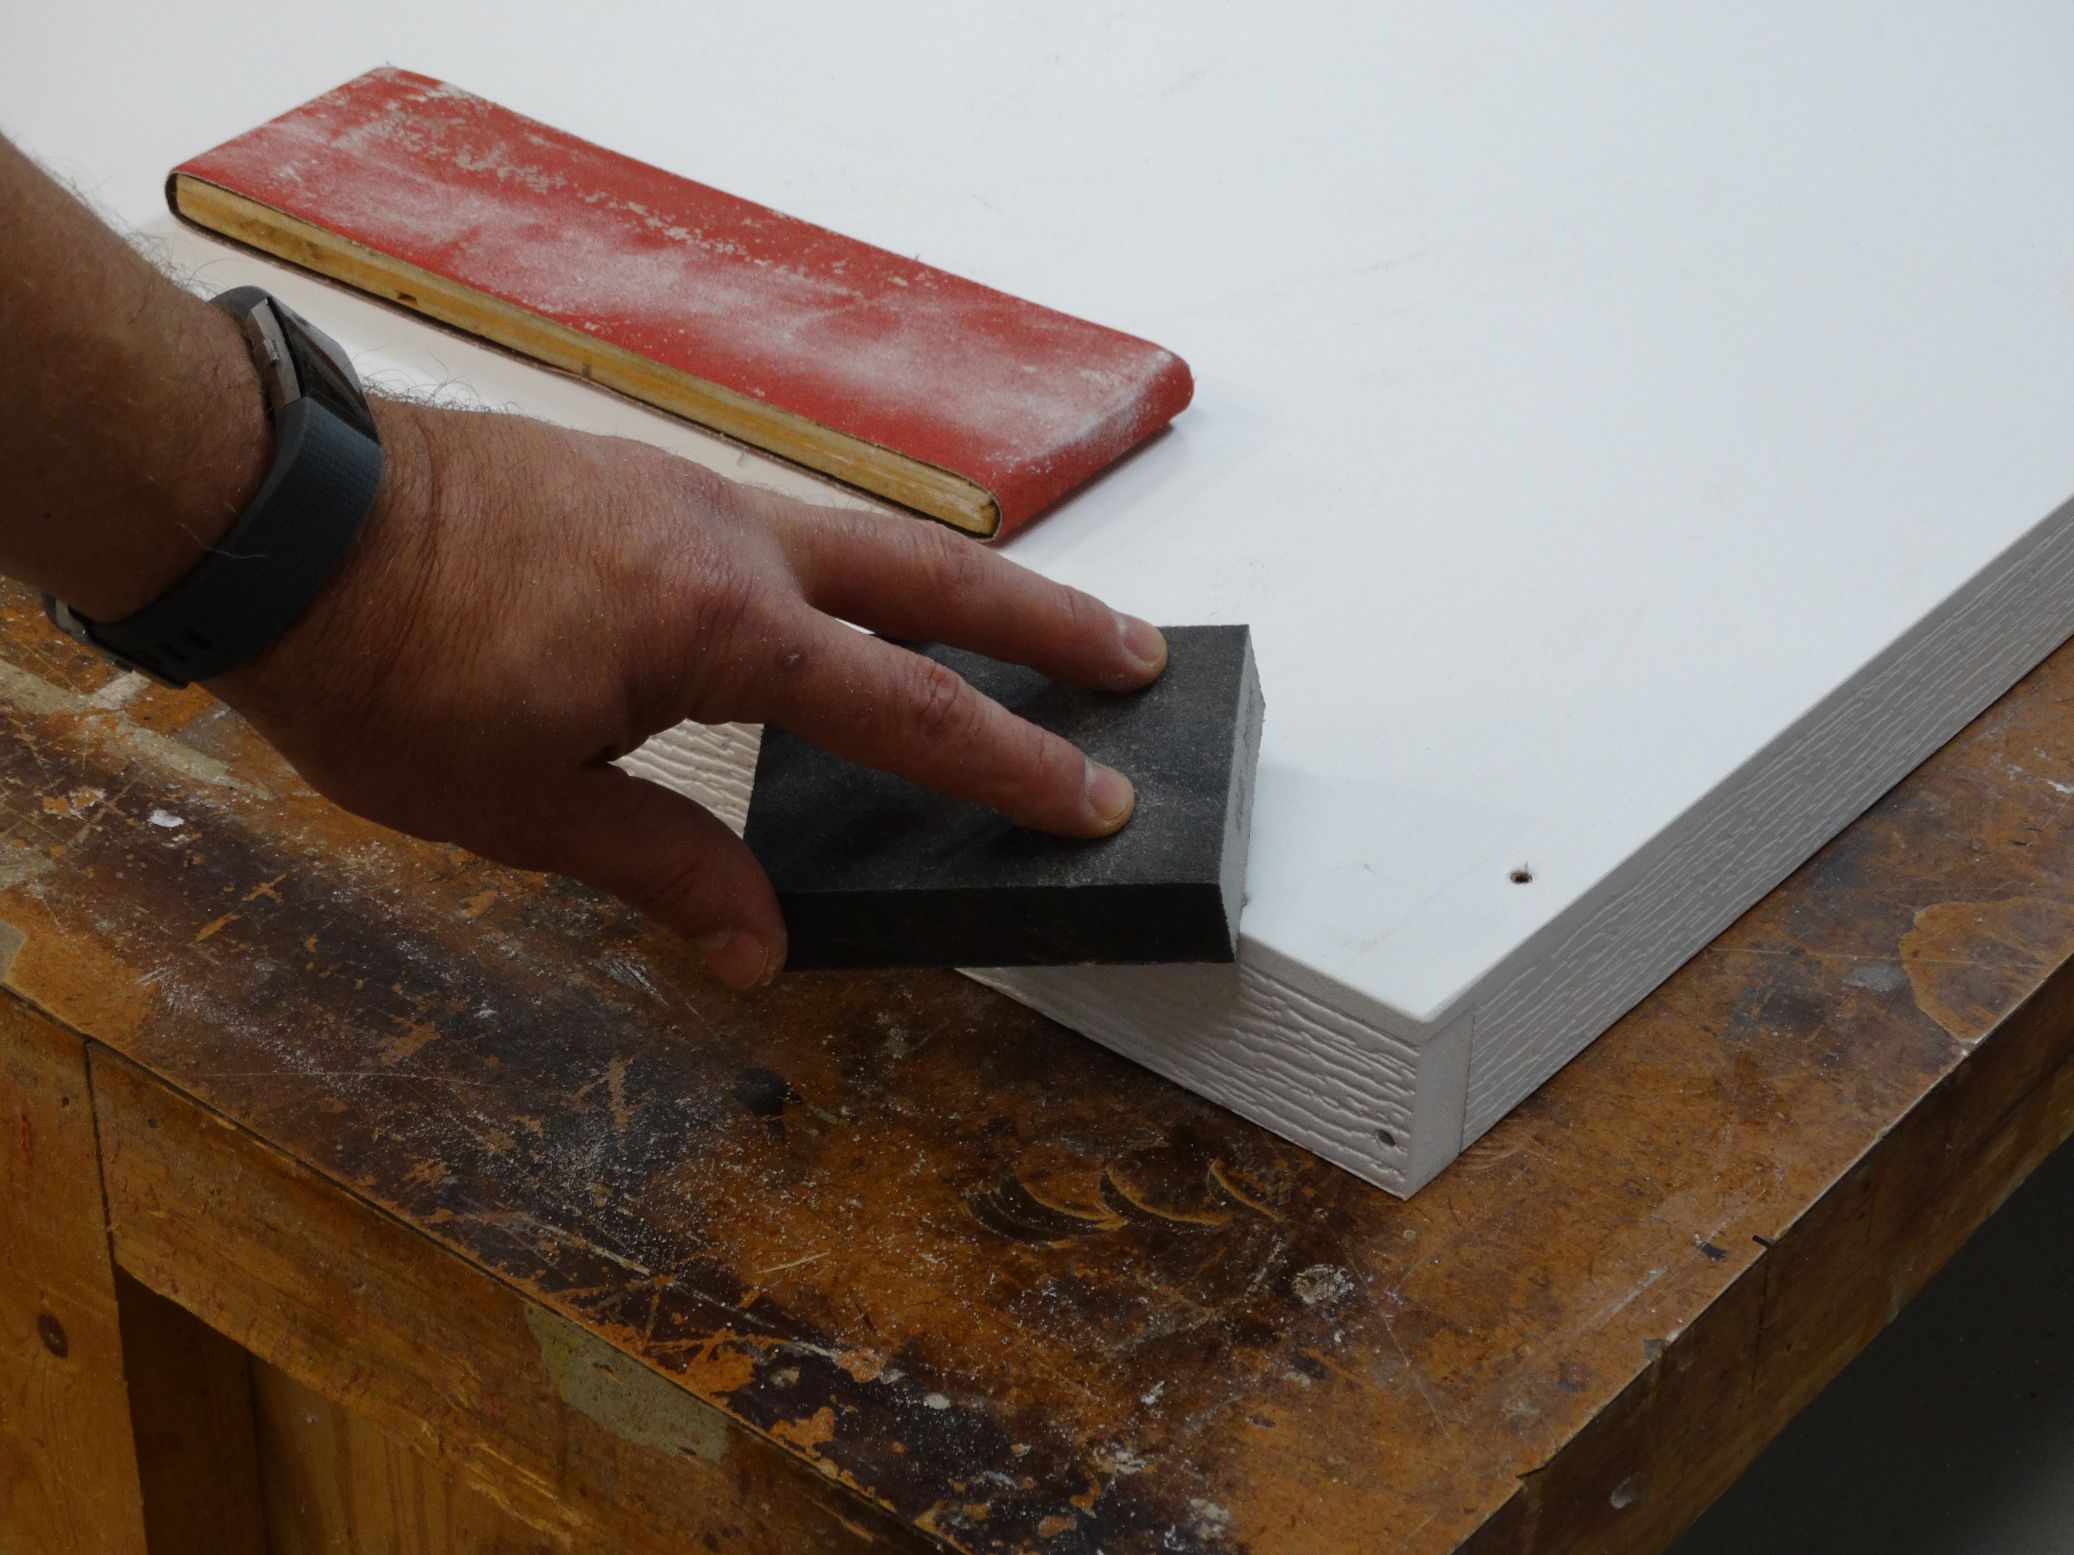
Sand all edges! PVC can have sharp edge after cutting, so it is important to sand all cut edges with 220 grit sand paper.
Fill it with sand, rocks and your toddler's favorite toys!